A Guide On the Stainless-Steel Lost Wax Casting
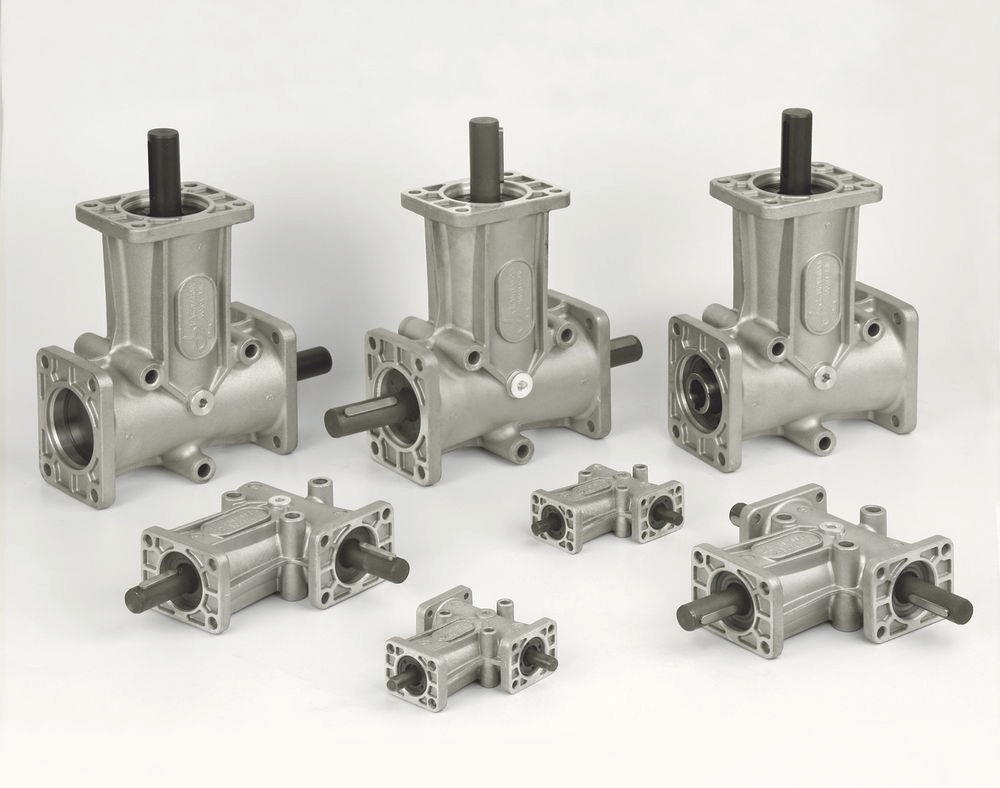
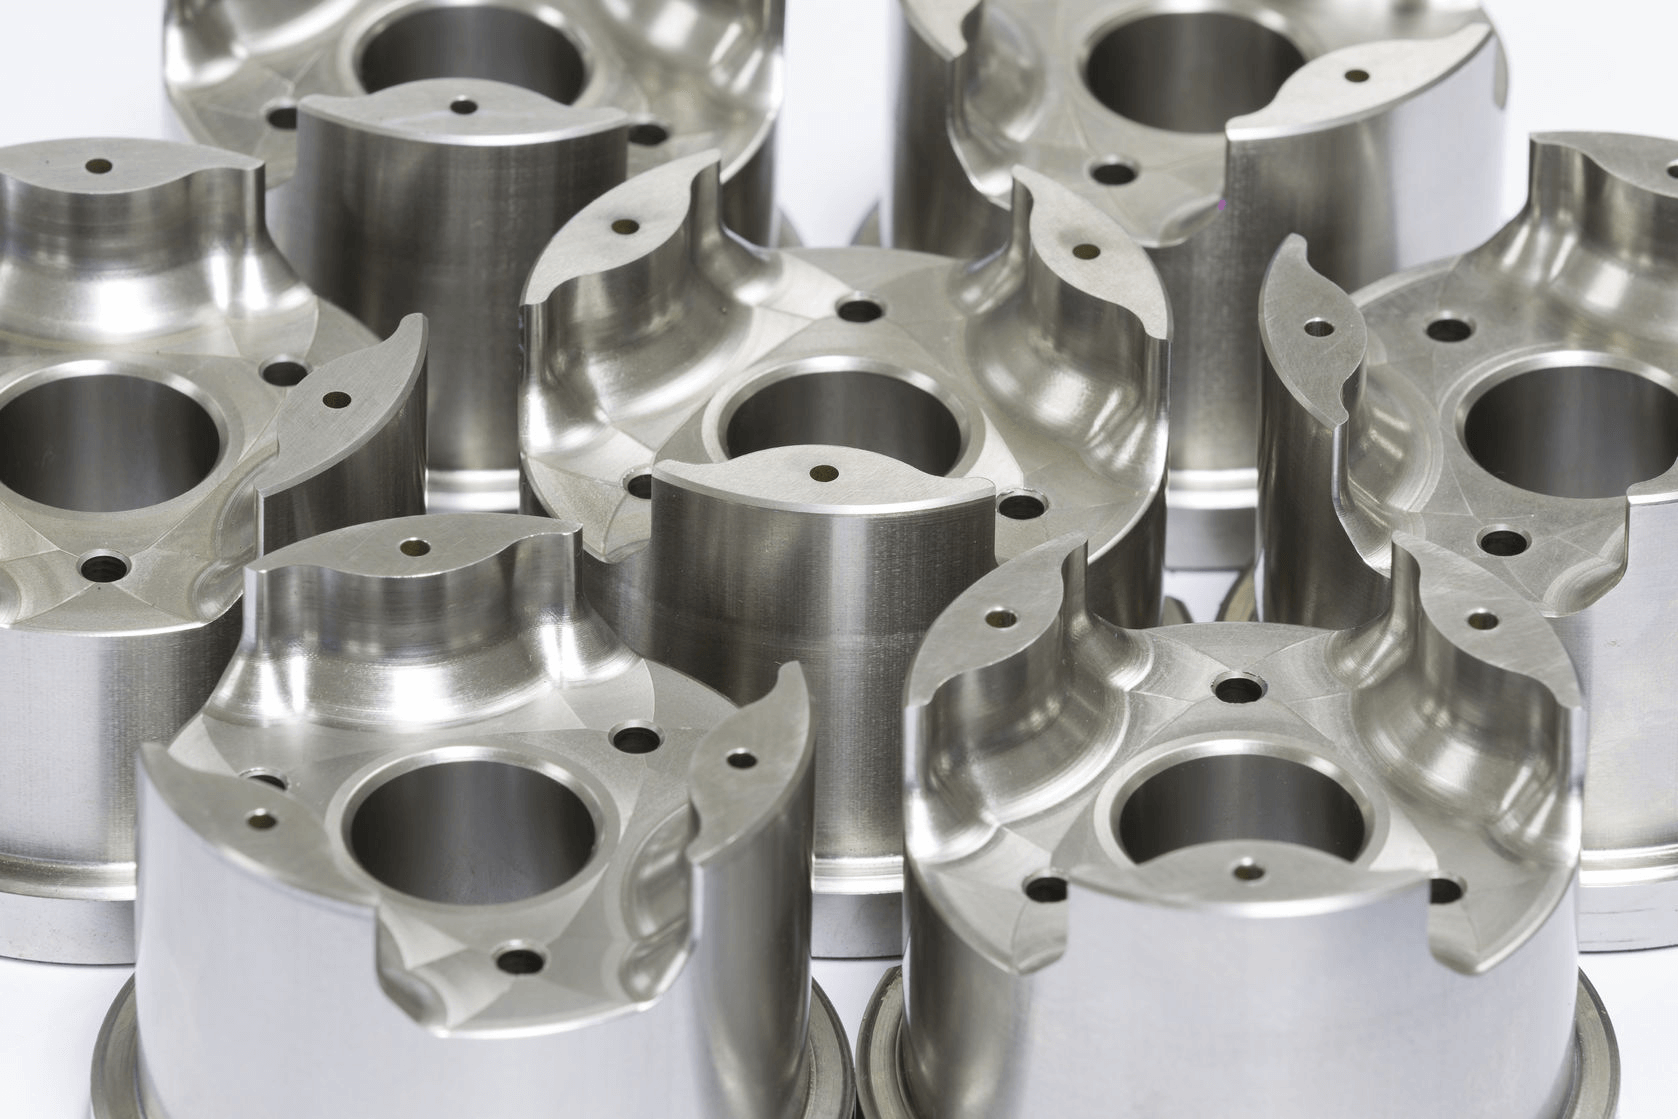
Over the years, manufacturers greatly rely on the stainless steel lost wax casting process to create high-quality parts and components. Stainless steel investment casting allows the manufacturing of complex shapes having high-dimensional accuracy.
In addition, stainless-steel is an excellent material that offers engineers freedom in terms of material choice and product design. It is possible to include the consumer’s demands and specifications into the casting process.
Understanding the wax casting process for stainless steel is important. Therefore, in the course of this article, we are going to discuss all the steps that are part of the stainless-steel lox wax casting process. So, without any further delay, let us get started!
The breakdown of Stainless Steel Lost Wax Casting Process
Below are the steps that are part of the process.
Moulding Making in Lost Wax Casting
The first step in the process of stainless-steel lost wax casting is the creation of the mould. Manufacturers use these moulds to inject wax patterns. They have the same dimensions as that of the final stainless-steel castings.
In order to make sure that the wax pattern is of high quality, it is important to focus on the mould’s surface roughness value along with the high-dimensional accuracy. Ensure that the surface roughness value is minimum.
Aluminum alloy is the top priority for most stainless-steel casting companies. They use it as a mold material due to the benefits it offers including reusability, easier managing, etc. In case, you want the alloy to be of extremely high-quality, you can ask the manufacturer to choose the aviation aluminum as the material used in the mould.
If you don’t ask for a certain alloy, the casting manufacturers would use the regular aluminum as it would cost them less.
Wax Pattern Injection
Next comes the injection of the wax pattern into the mould cavity. You need to press only the treated wax paste into the mold cavity. Wait for the ice water to be condensed, then you can take out the wax paste from the ice water machine.
Next, you would have to put the profile into a pool for a certain time frame. Eventually, you will end up with a single wax pattern for the inspection and dressing purpose. You can consider the wax pattern as the die-cast part.
Repairing the Wax Pattern
Since the wax pattern’s quality will have a direct impact on the final stainless-steel casting, therefore, you need to pay extra attention to it. You need to control the temperature of the wax pattern workshop. Ensure that it remains consistent as it would minimize the wax patterns deformation.
Also, it is important that you inspect the wax pattern’s surface quality especially for the ones that have flash, burrs, and parting lines. For the success of stainless steel lost wax casting, manufacturers need to repair all these issues in an effective and efficient manner.
Tree Assembly in Lost Wax Casting
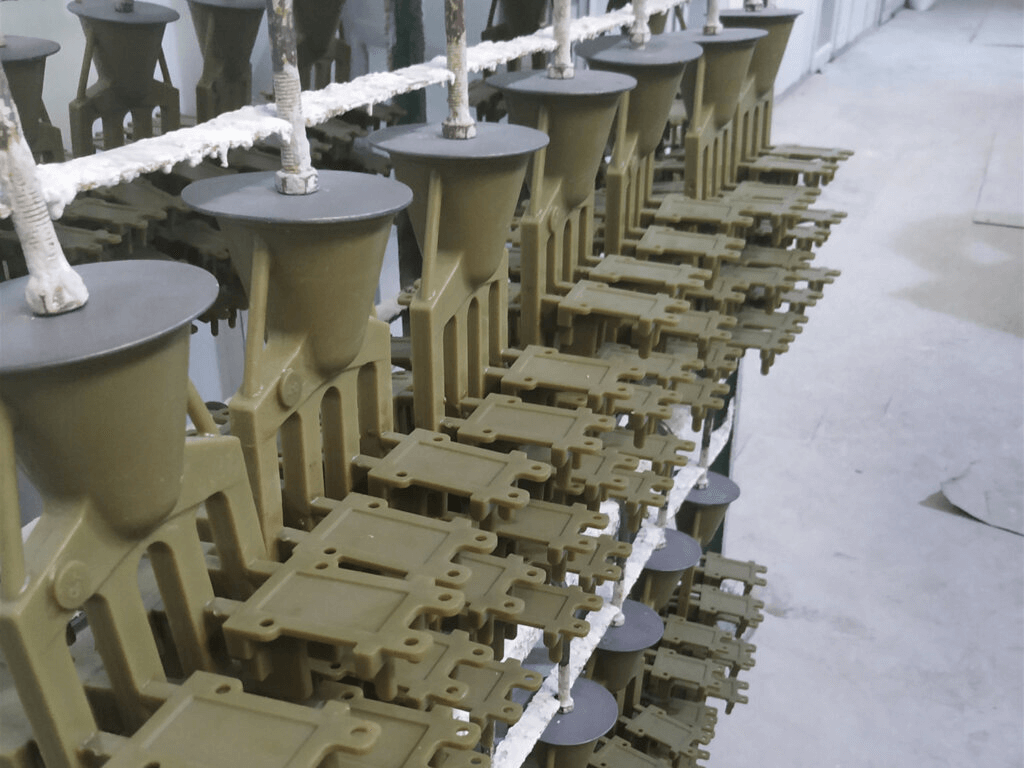
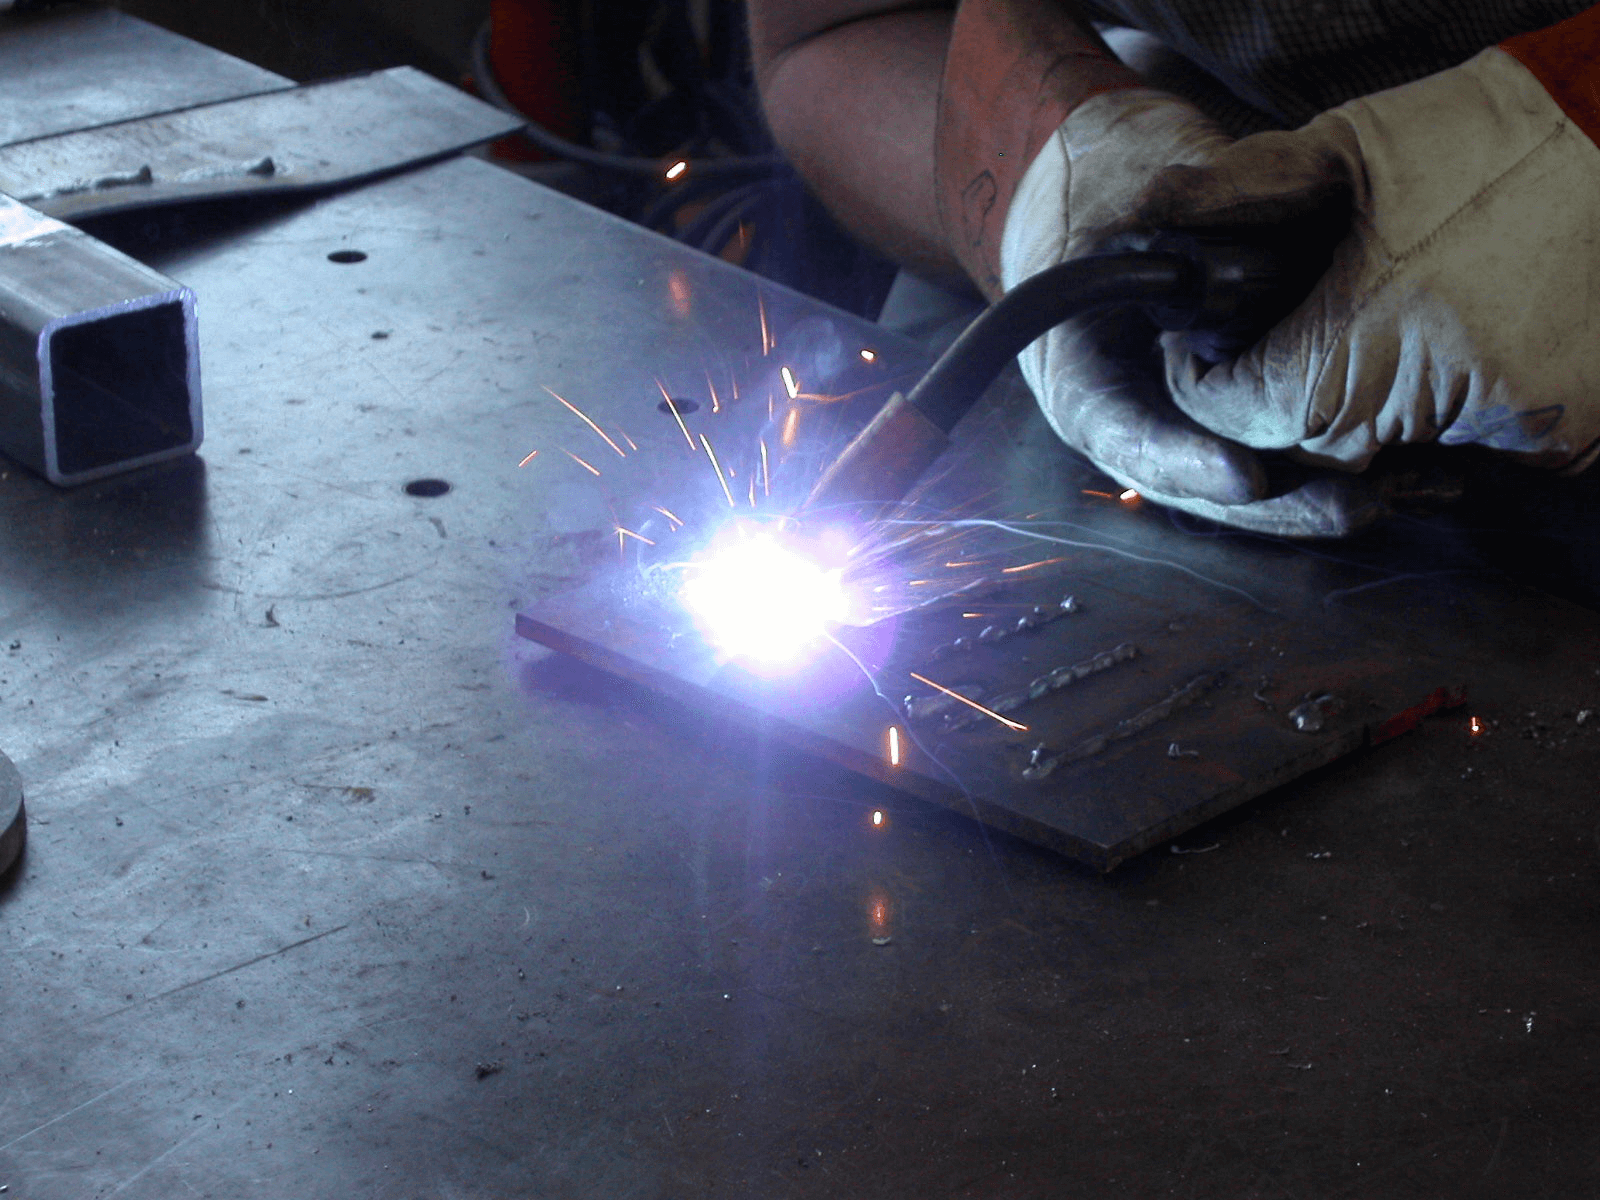
After the manufacturer completes the pattern repairing, it is time to move onto the tree assembly process. After enhancing the product quality of the wax pattern, a single wax pattern is welded as well as fused on a casting system (pre-determine). This is to make the wax-pattern assembly.
It is possible to use one wax module for the welding of about 2 ~ 80 wax patterns. With the tree forming scheme, the manufacturer is able to find the molten stainless-steel utilization rate as well as the yield of products.
Therefore, manufacturers need to carefully consider the design of the tree-forming scheme. Also, they should keep in mind that the tree-forming idea should be effective for the reuse of the wax as well as its recovery.
Wax Pattern Clearing
Wait for about 45 minutes before cleaning the wax modules present behind the group trees. It is important to remove the grease and the wax crumbs present on the surface of the wax modules. After cleaning, you can make hanging slurry and shells.
Cleaning the modules would enhance the adhesion of developing the shells. Take a cleaning flood and dip the module into it from about three times. The total time the process takes should be roughly 4s. Once you take the module out, you need to dry it. Use compressed air for this particular purpose.
After completely drying the modules, you can make shell by sizing.
Making of Shell
Manufacturers put the wax patterns into the shell making shop, after coating them. In terms of drying, the surface layer dries naturally, however, for the back and transition layer, manufacturers rely on artificial methods.
They would use a rotary air-drying machine in order to enhance the speed of the drying. For small stainless-steel casting, repeat the coating for about 5 to 7 times. In the case of bigger casting, repeat coating for about 6 to 9 times.
Repeat the coating it the wax forms a hard shell of 7 to 15 mm. This would provide it with the right amount of strength.
Dewaxing and Waxing
Put the shell backward in the dewaxing steam axe. Manufacturers would be melting the wax patterns and they are drained from the shell’s bottom. It is possible to recycle the liquid wax by using the water separator separation system.
It would take about 12 hours and then the liquid wax would be part of the static barrels after passing through a filter. Finally, you can preserve the wax liquid into an insulation heat box. Later, manufacturers can reuse this wax for another wax pattern.

Shell’s Final Touches
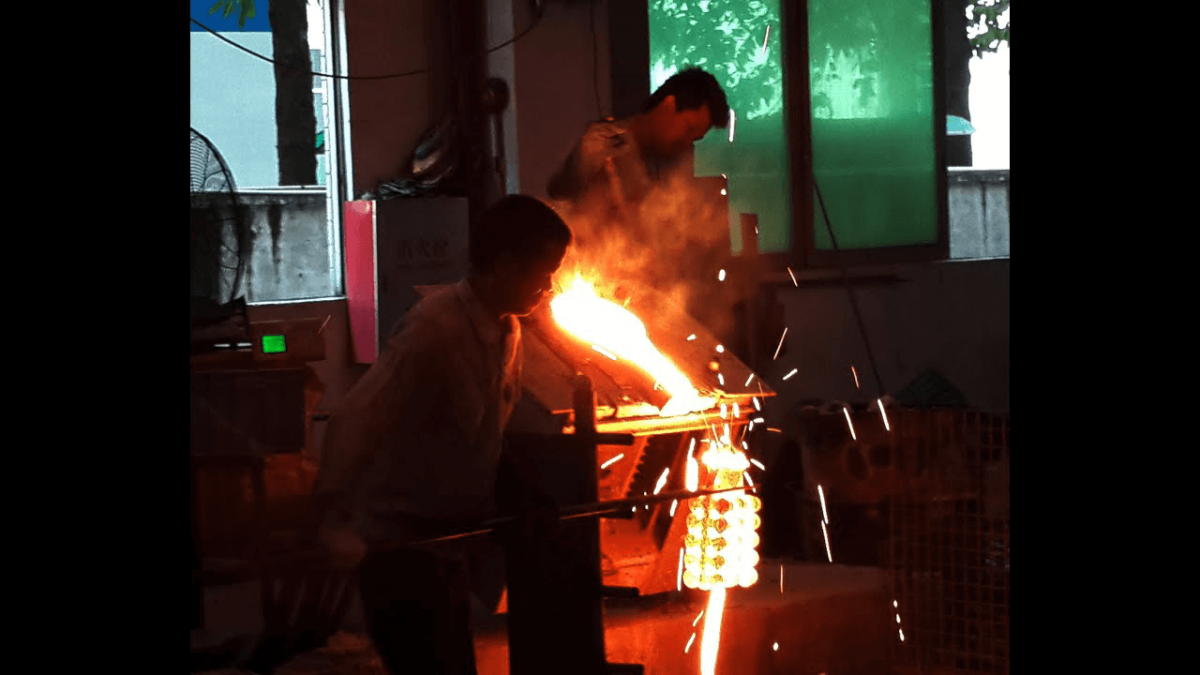
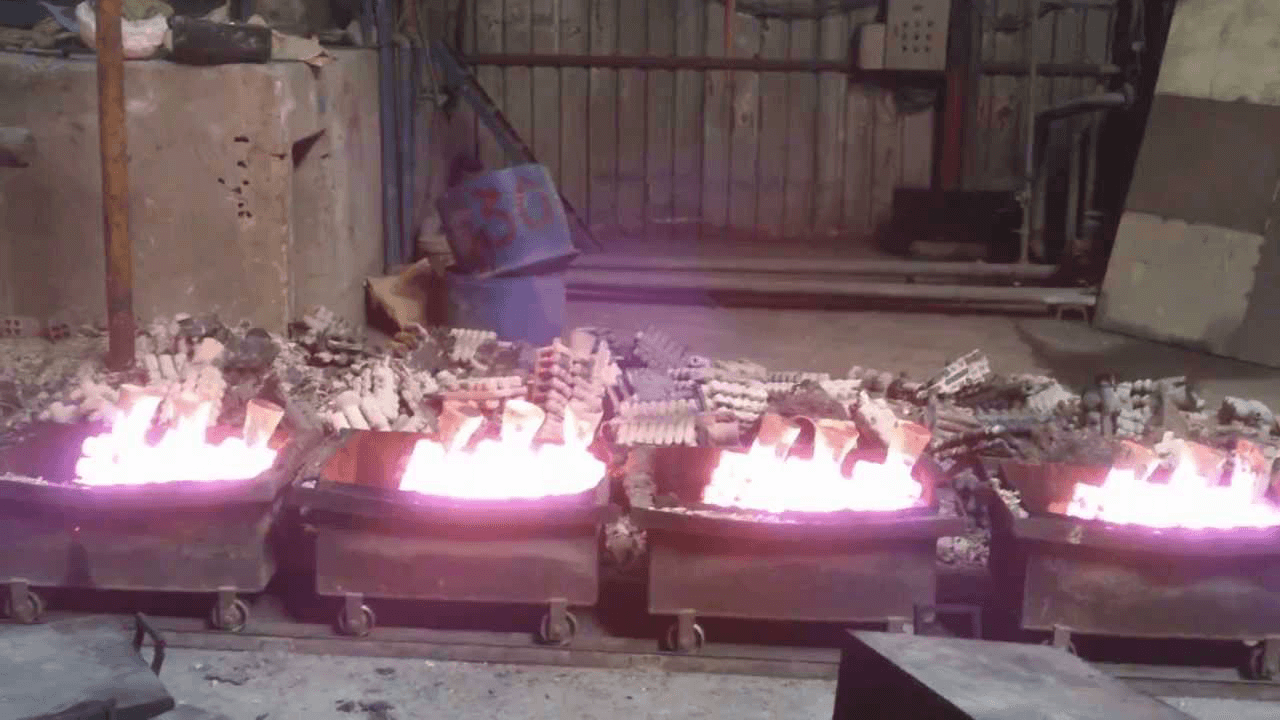
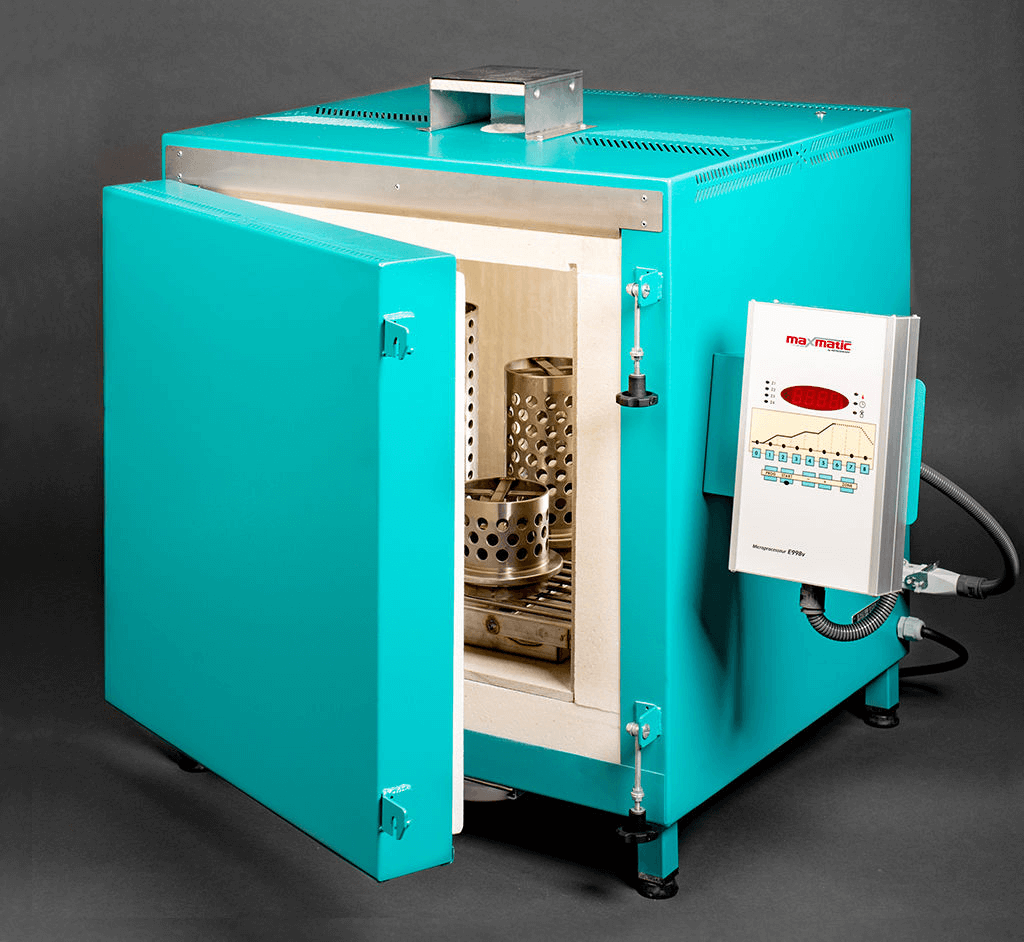
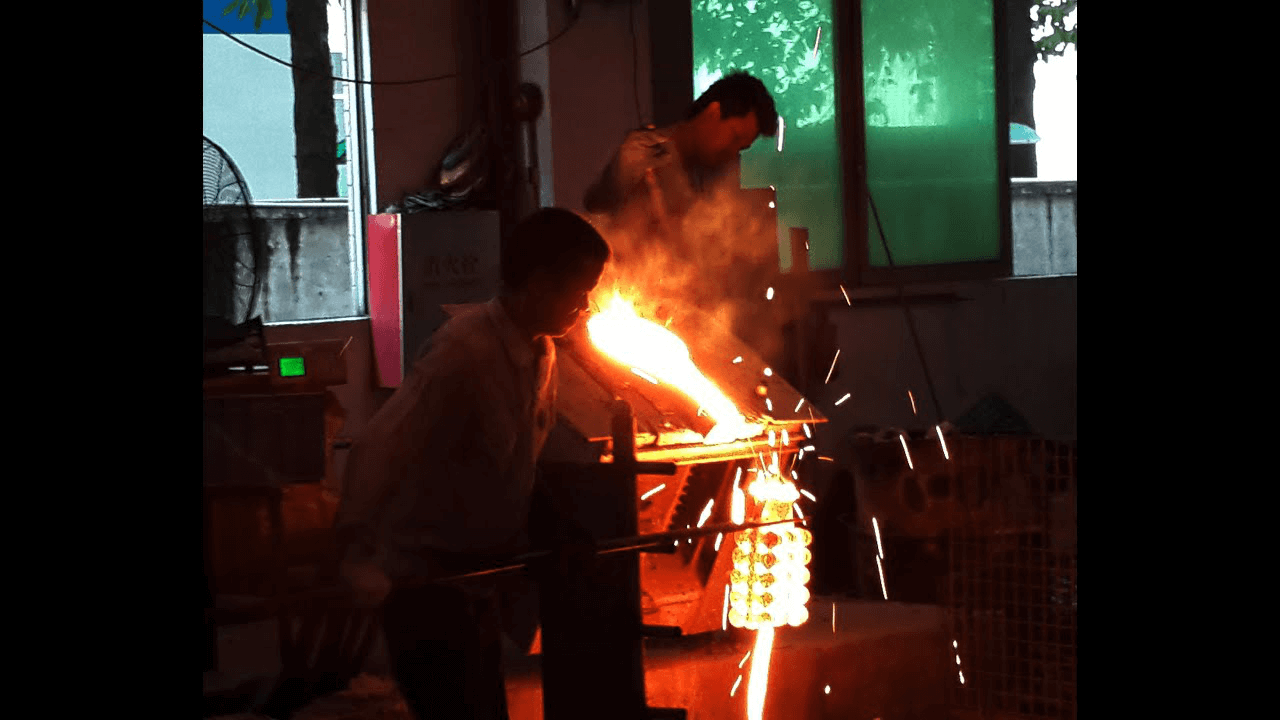
The last step in the stainless lost wax casting is roasting of the shell. After you remove the wax, roast the shell and then do the pouring. Use an oil furnace for the roasting of the shell. Give it 50 minutes in the furnace.
The objective here is to get rid of the residual wax liquid left after the wax removal. Doing so would enhance the strength as well as the shell’s permeability. This would ensure that there is no calamity in terms of shell rupture or deformation during the pouring.
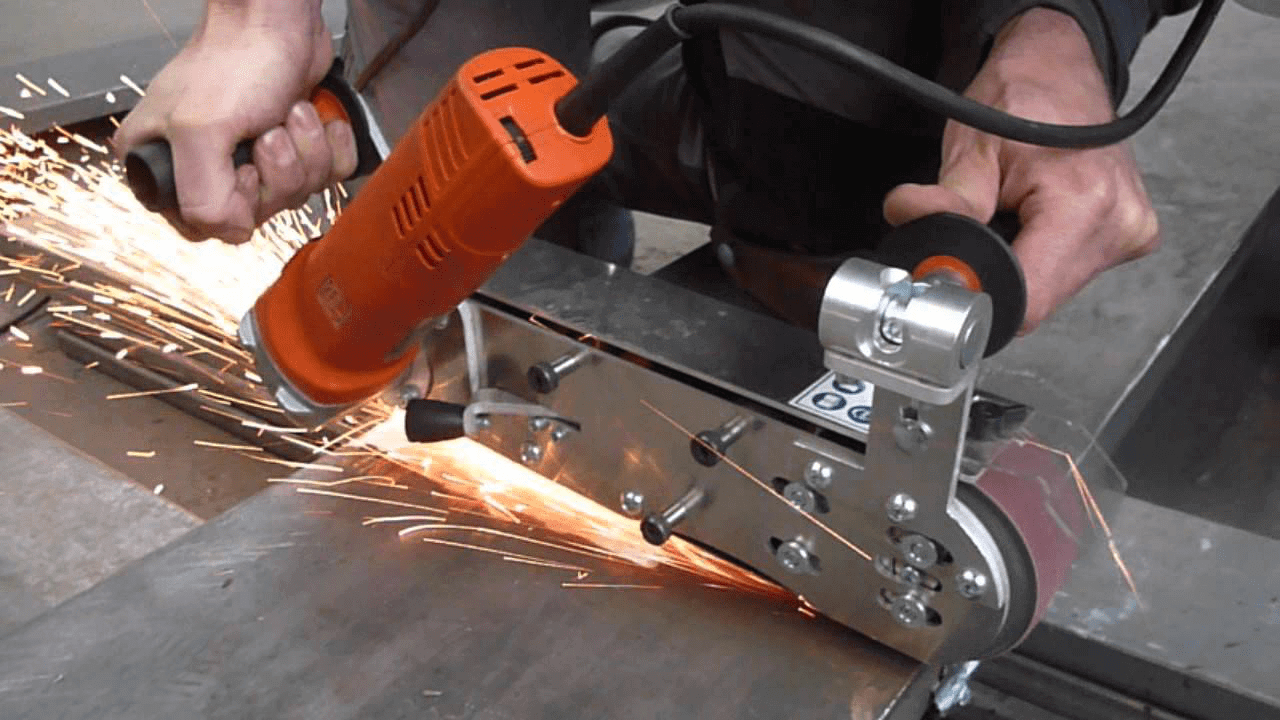
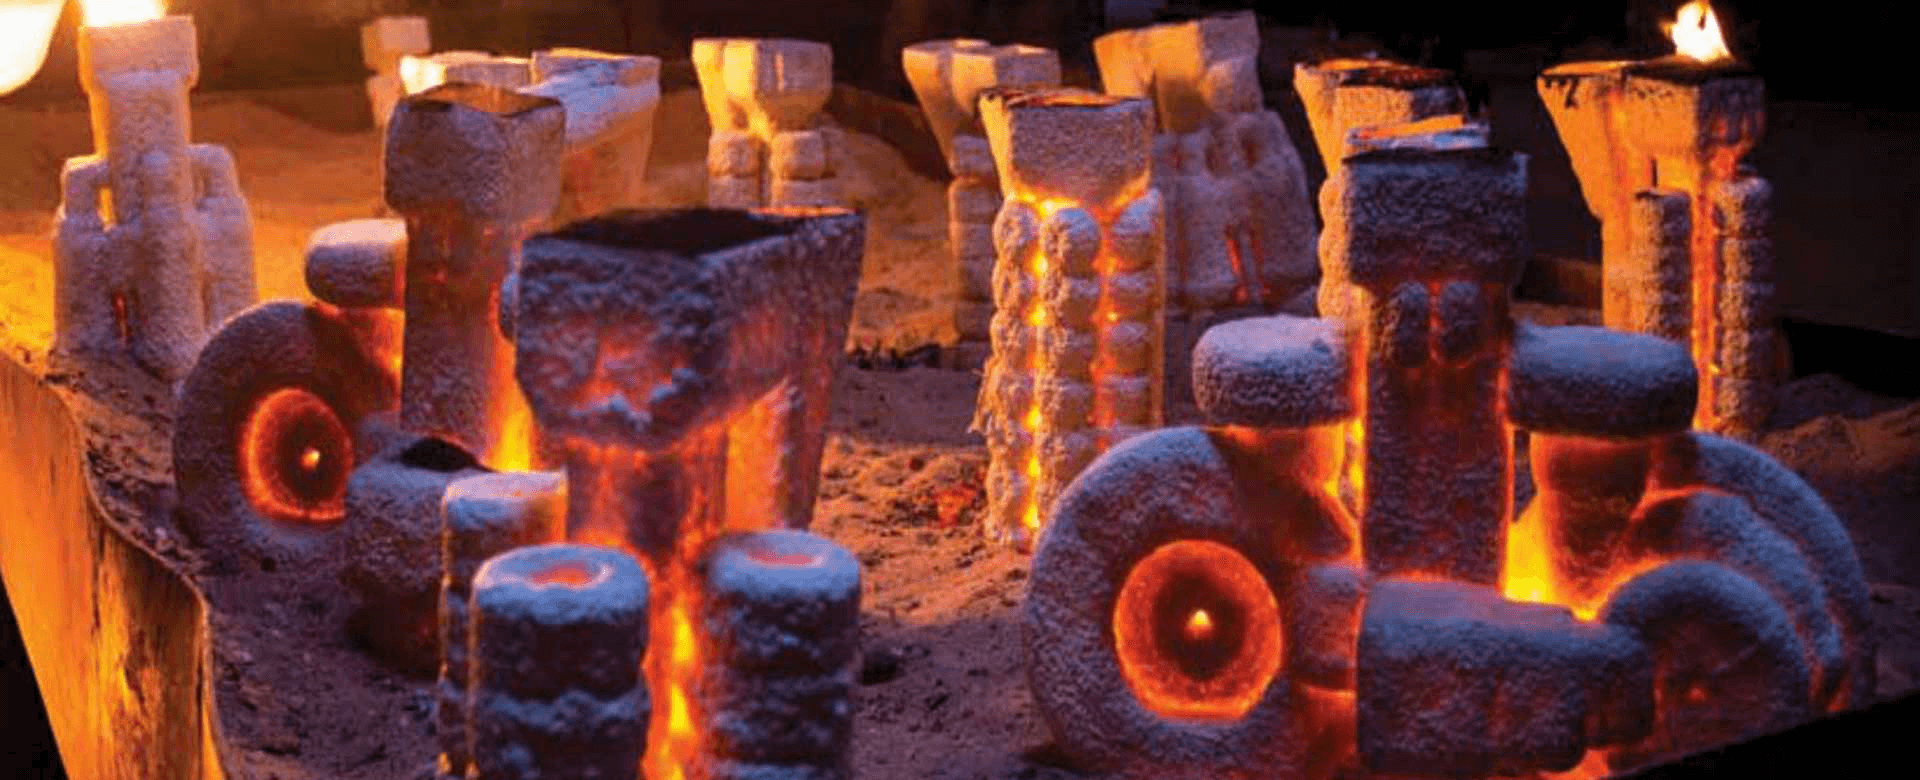
To prevent the workpiece from shrinking, do remove the temperature difference between the shell and the castable liquid stainless-steel. After casting condensing, the shell needs to be destroyed and the pouring-system needs to be removed.


